|
|
 |
|
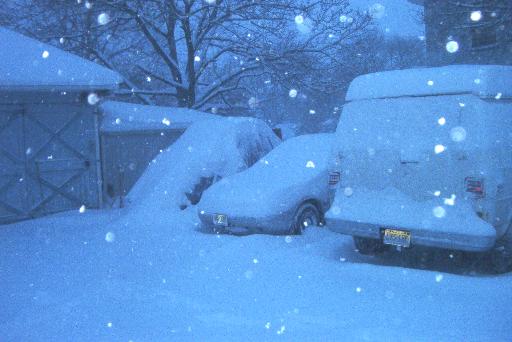
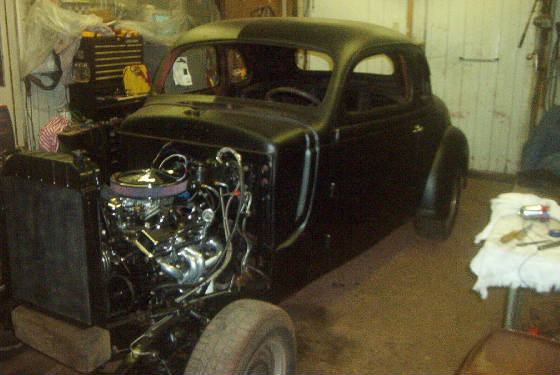
Gee, just a few days before my birthday (01-24) and we get a super snow fall, the coupe is out side as you can
see in the pic, and there isn’t no way we’re pushing it in the shop.
There was a bad week where the temps dropped too low and my water lines in the shop froze up, after 20 years it never got
this bad, never! This took away a few weeks from working on the project to get the place defrosted and repair the water lines
and tend to the wife's Koi pond in the back yard, that had a freeze issue with the pumps also. Grrrrrrrrrrrrrr.....
When the weather broke it didn’t take long for the snow to melt and just a few sunny day’s later we were back
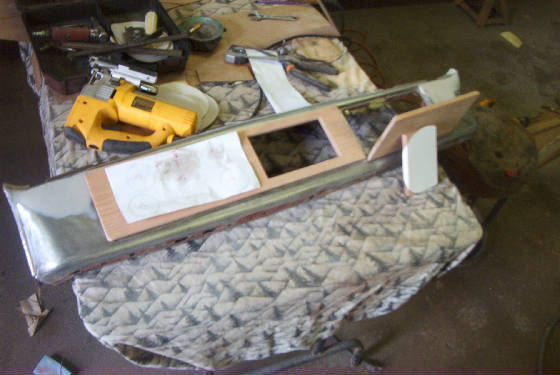
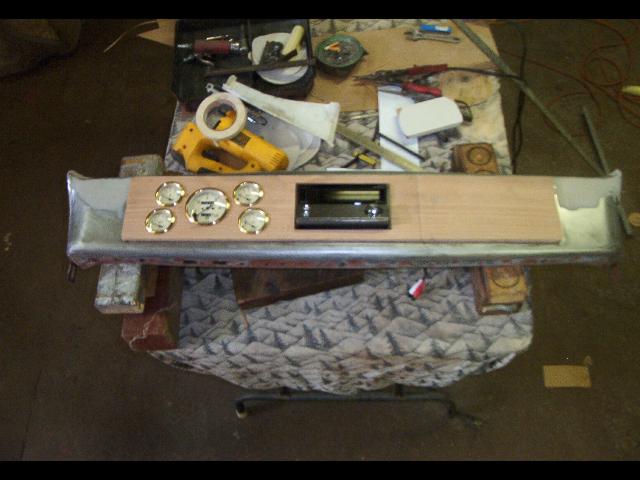
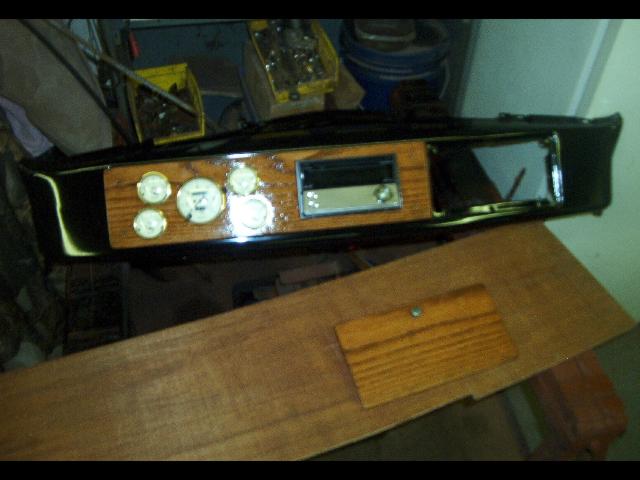
on track . The dash was next on the agenda, I had to get it done ASAP as time was flying by. Here we are in the middle of
April and I did miss taking some pics of the progress because I couldn’t get the camera to function in the cold.
We got all the fenders done and sanded everything down to bare metal , there was some signs that the left front fender
was hit right at the head light. This took some time to repair as there was lead and many other patches that had to get ironed
out. The time has come to squirt the color on the body , doors and rear fenders, deck lid etc.. After that we bolted everything
up and wired up the rear lights and fuel sending unit and electric pump.
|
|
|
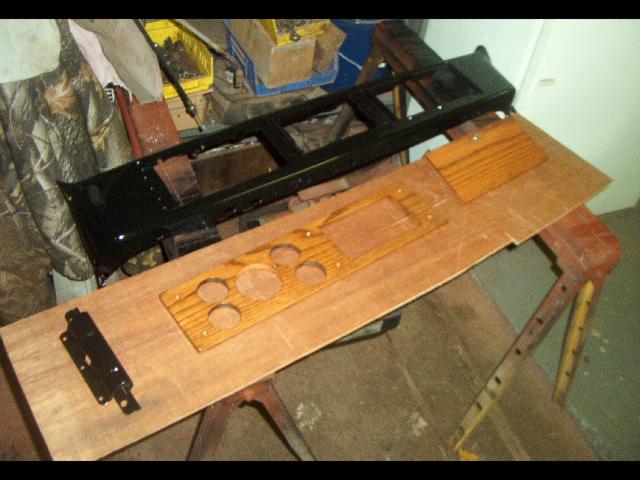
Next phase now that the dash is installed and almost of the other components are dialed in was to get the front tin shot
with some color and make a wire harness for the lights, test everything then mount the nose. It’s all starting to come
together now and looking sweet I’d say . The paint I used was 1985 CHRYSLER # 99-35377 00, an ACRYLIC ENAMEL
WITH A FLATTING AGENT ADDED TO IT. No shinny paint equals no waxing therefore more time to
ride . And ride we have ) update 11-13-06 Beck & I have tripped just over 9k on our project since
last year ...
That's what we built it for :o)
As spring arrived I was more concerned about making up for lost time due to the harsh winter that took weeks of major progress
away from the project. I missed taking a lot of pictures of things (both lower door skins, front&rear door post hood&
hing .etc.)as my mind was set to proceed. We have to get the windows in, and the fuel tank yet, that was delivered when it
was just too cold to get under the car. We used a early Camaro tank, made our own mounting straps, had to make and install
a bung like the original thank had. It was a bit testy at times coming up with ideas on how to make things fit & work.Emergency
brake cables also were from the early Camaro, all the way to the original handle under the dash. Only problem was the battery
box mounted under the drivers seat gave way to design a 1/4 moon bracket to clear it with the E cables.
|
|
|
|
|
|
|
|
|
|
|
|
The trees are budding and the weather is drying up the ground, ya might say we better crack the whip here
and keep going....
NEXT PAGE CLICK HERE
DISCLAIMER :
Street Rodding is an enjoyable but serious hobby and like any other hobby safety
is foremost the number one concern. Therefore, since I am not by any means a professional car builder just
a hobbyist, any information contained within these pages are just my opinions design/s and ideas that
worked for me.
Furthermore, I make no claim/s as to the accuracy of the information and/or procedures used herein
, nor will I accept responsibly and/or any liability/s for the use or abuse should any of the said information used by any
party/s should cause injury. Always consult your local and state safety laws and regulations !
Any person/s whom may nominate to use, build and/or copy the method/s in this site would be doing so at his or her/s own risk .
|
|
|
|